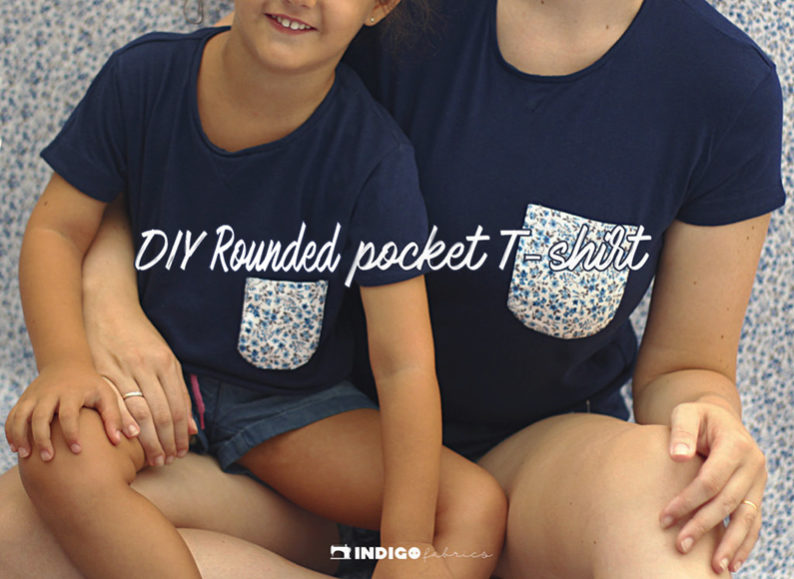
We start a new section on our blog and we are suuuuper happy for it. Let’s start a new diy project, let’s do what we really love, sewing and crafts with fabrics. But we are going to start with something nice, easy and fast, we will have time to complicate ourselves later. Besides this tutorial is for the whole family, that’s why is tagged as “family diy”, so that you can all match together as a great happy family that you are;)
Let’s get started!
?MATERIALS:
- Patterns that you can download here (in addition, comes with a bonus of two more pocket forms).
- Carton (reuse some packing box that you have around, we must take care of our planet ?).
- A piece of fabric —> adults_ 14 x 14 cm kids_ 10 x 10 cm (we have chosen Ashley 601, you can buy it in our shop).
- Common tools from our sewing corner: needles, sewing machine (if applicable), scissors …
How to Sew a Rounded Pocket to a T-Shirt Step by Step
Our lovely design team have prepared an infograph so that in a visual way you can understand these simple steps. But in addition, here below we detail and add some tips to make your shirts look fantastic.
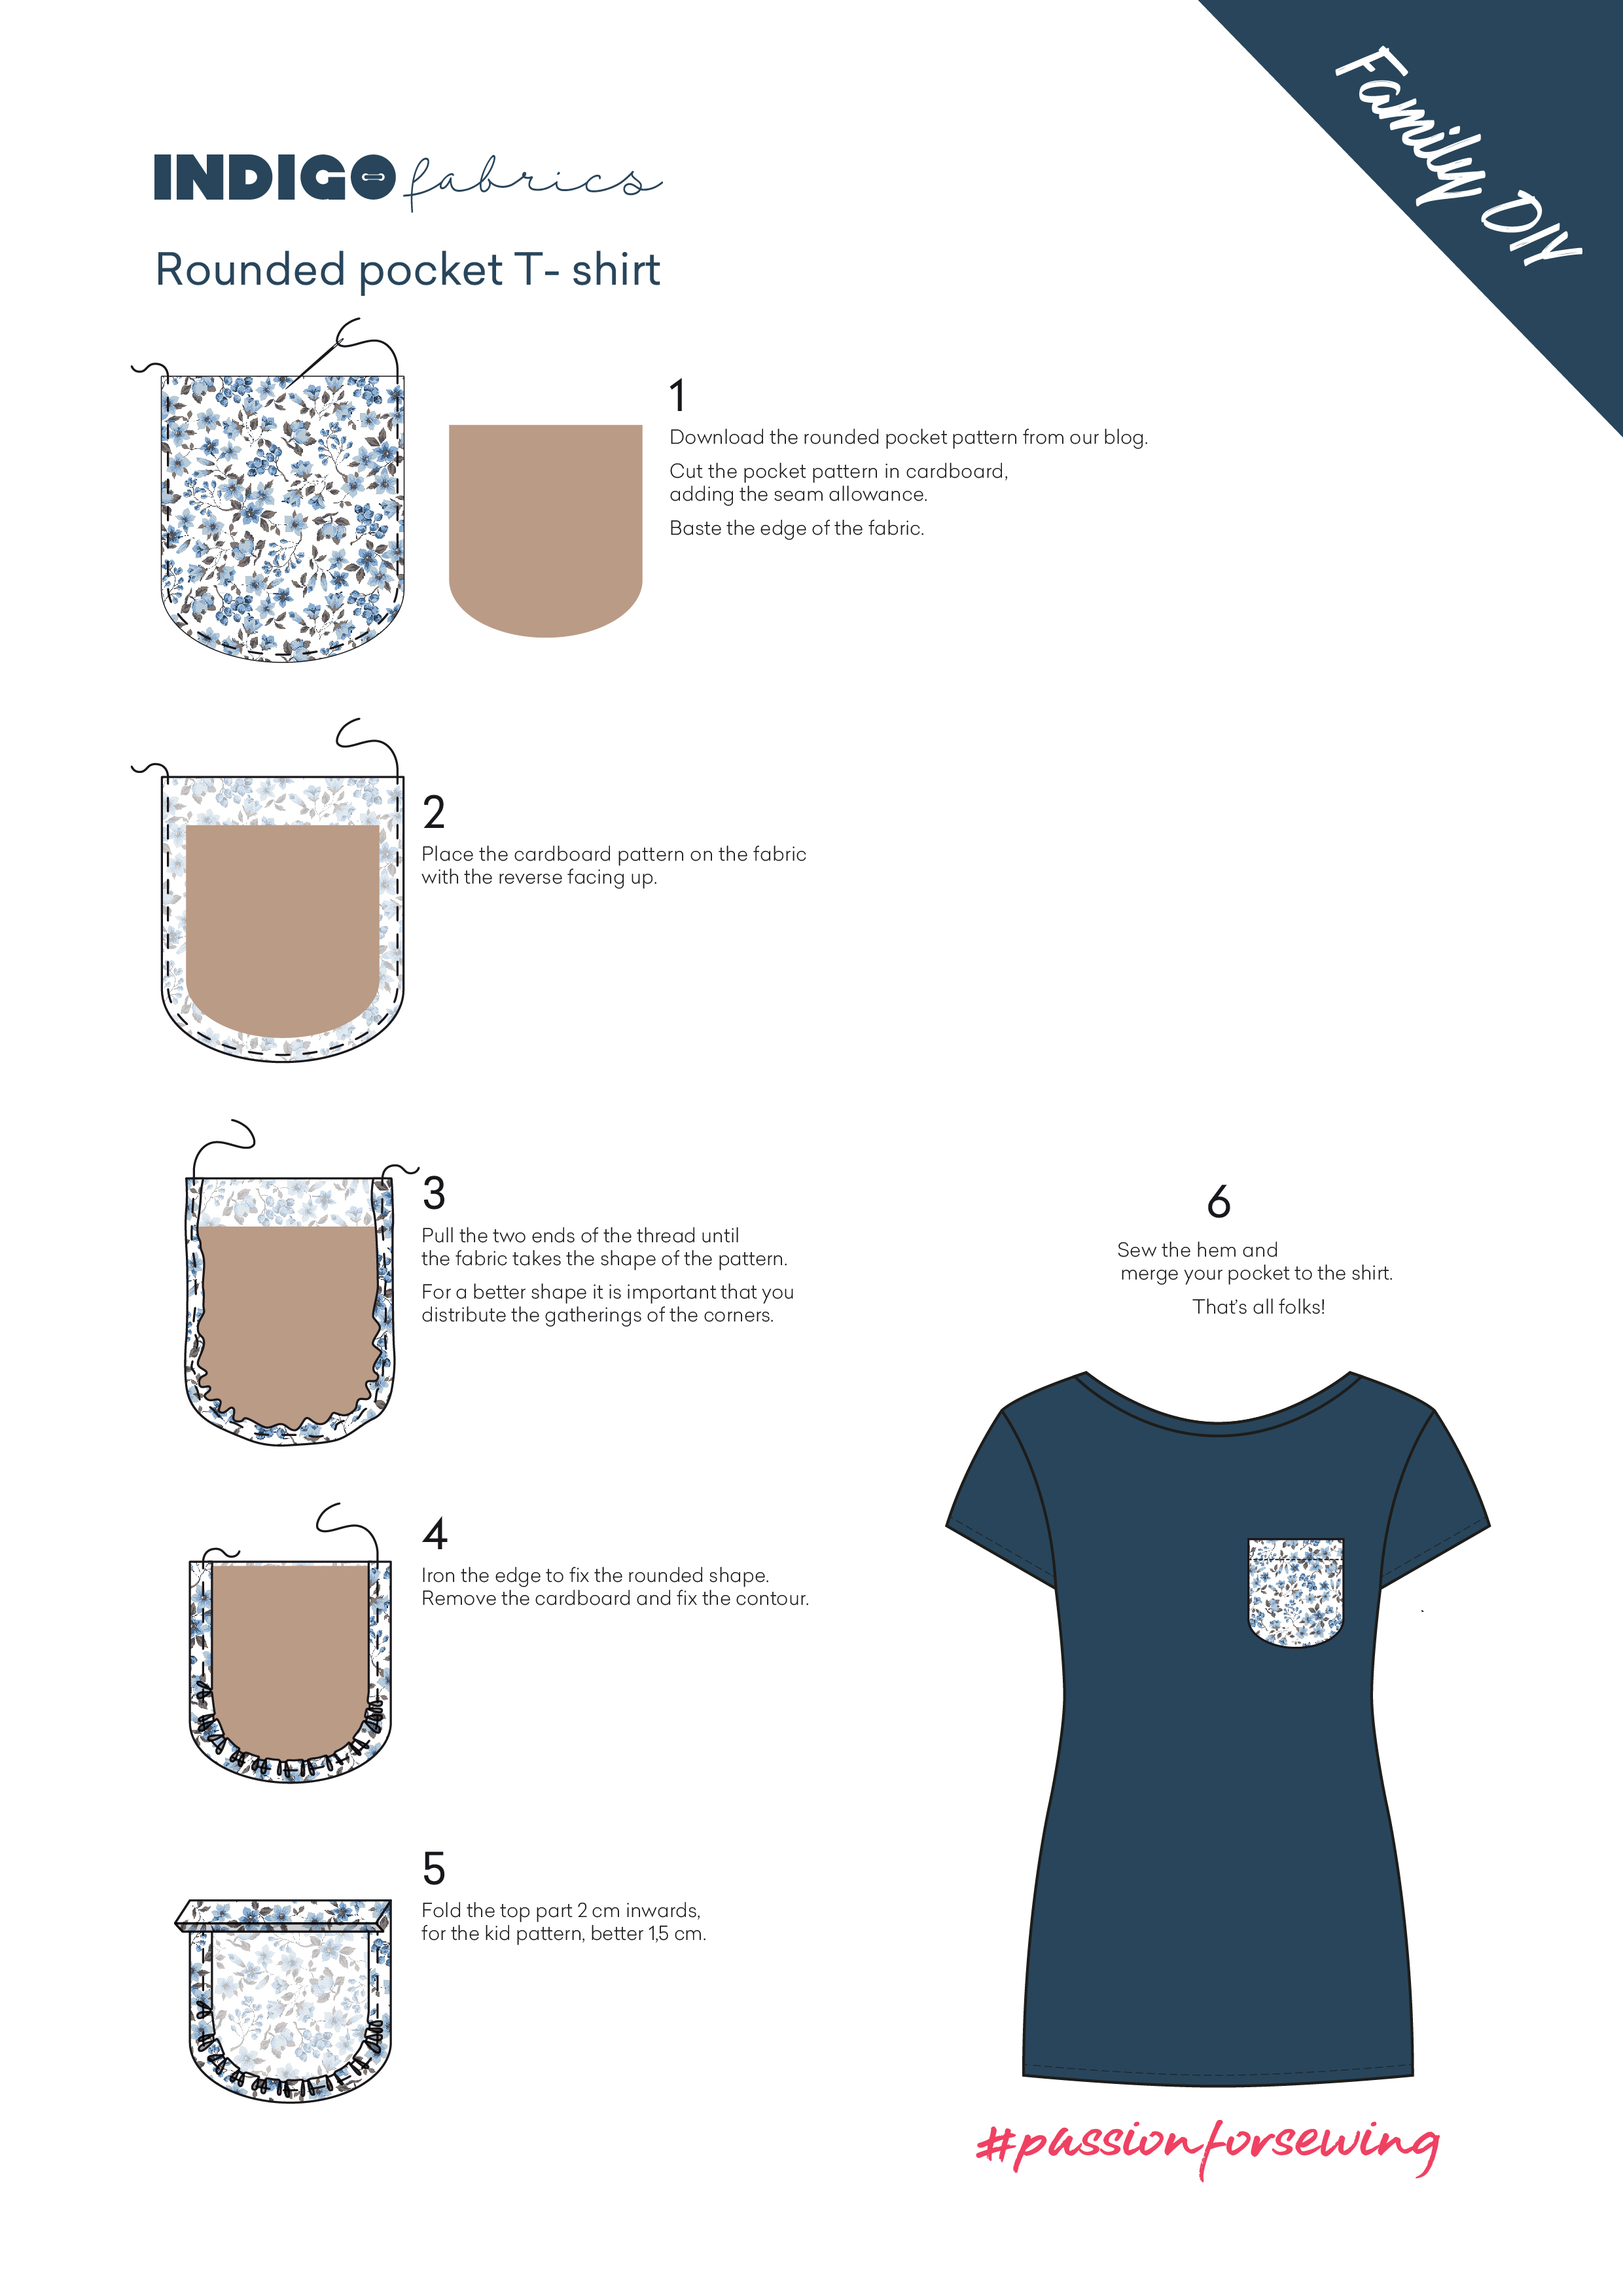
Step 1 .- Download pattern and baste
This may be the simplest step. Once you have the pattern downloaded from our website, you will have to cut it, without adding the seam allowance. Then, baste the edge of the fabric.
Step 2 .- Place the fabric
It is time to place the cardboard pattern on the fabric, with the upside down facing up, the stamped part will be that which is below.
Step 3.- Take the thread and … tight up!
Pull the two ends of the thread until the fabric takes the shape of the pattern. For a better shape it is important that you distribute the gatherings of the corners.
Step 4.- Iron
To fix the shape of the pocket you must iron the edge. Now, remove the cardboard and fix the contour.
Step 5.- Pocket hem
To make the hem, fold the top part 2 cm as shown in the slide. For kids, it is best to make it 1.5 cm. Then give him a few stitches with the machine or by hand to fix it.
Step 6.- Merge your pocket to the shirt
First of all, take a test to see how you would fit and find out exactly how high you want it to be. Baste it with pins. To have a reference, place it at the level of the lateral seam of the armpit. This is almost done, you need to merge your pocket to the shirt. The sewing machine feet can guide you. In hand sewing leave a half centimeter approximately of seam allowance.
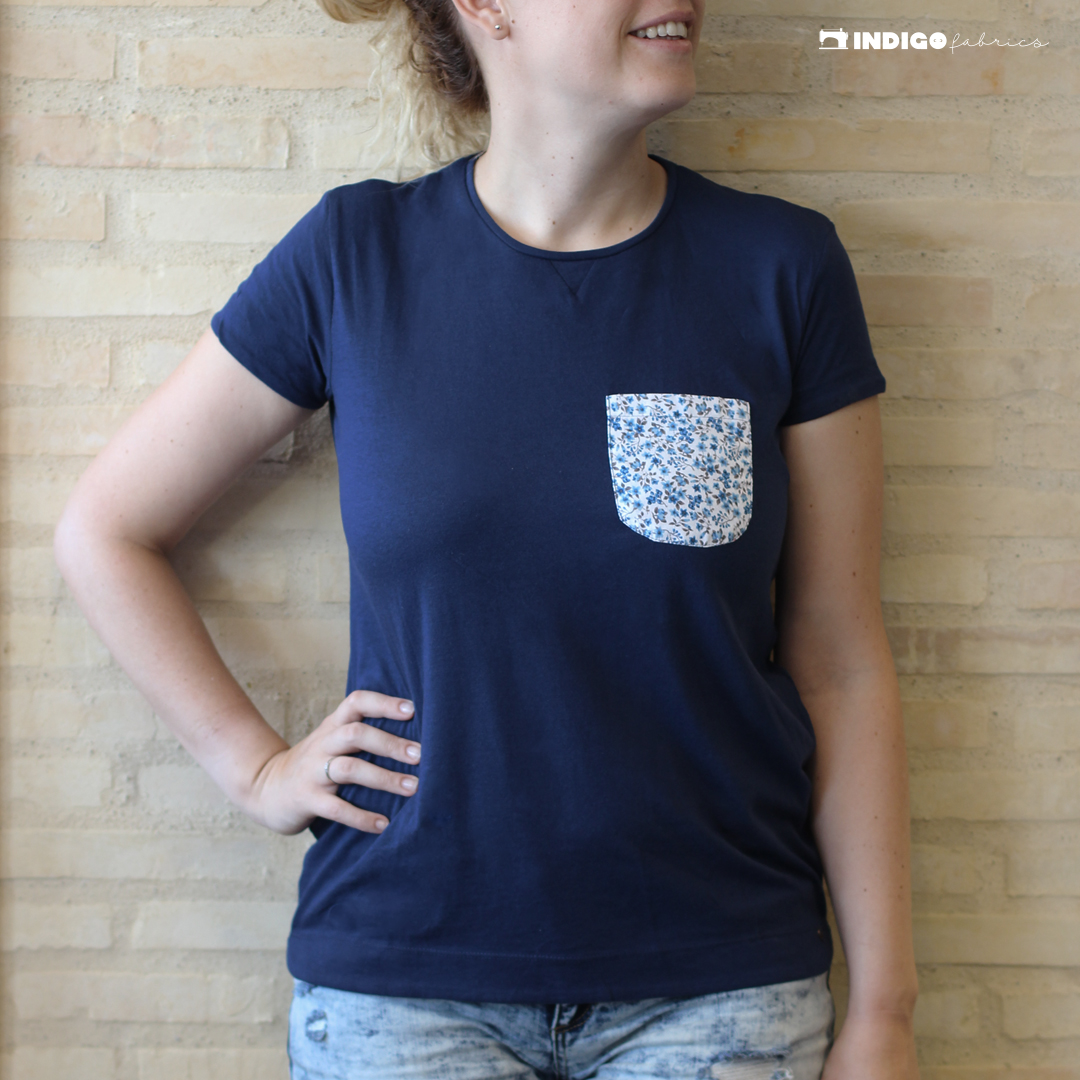
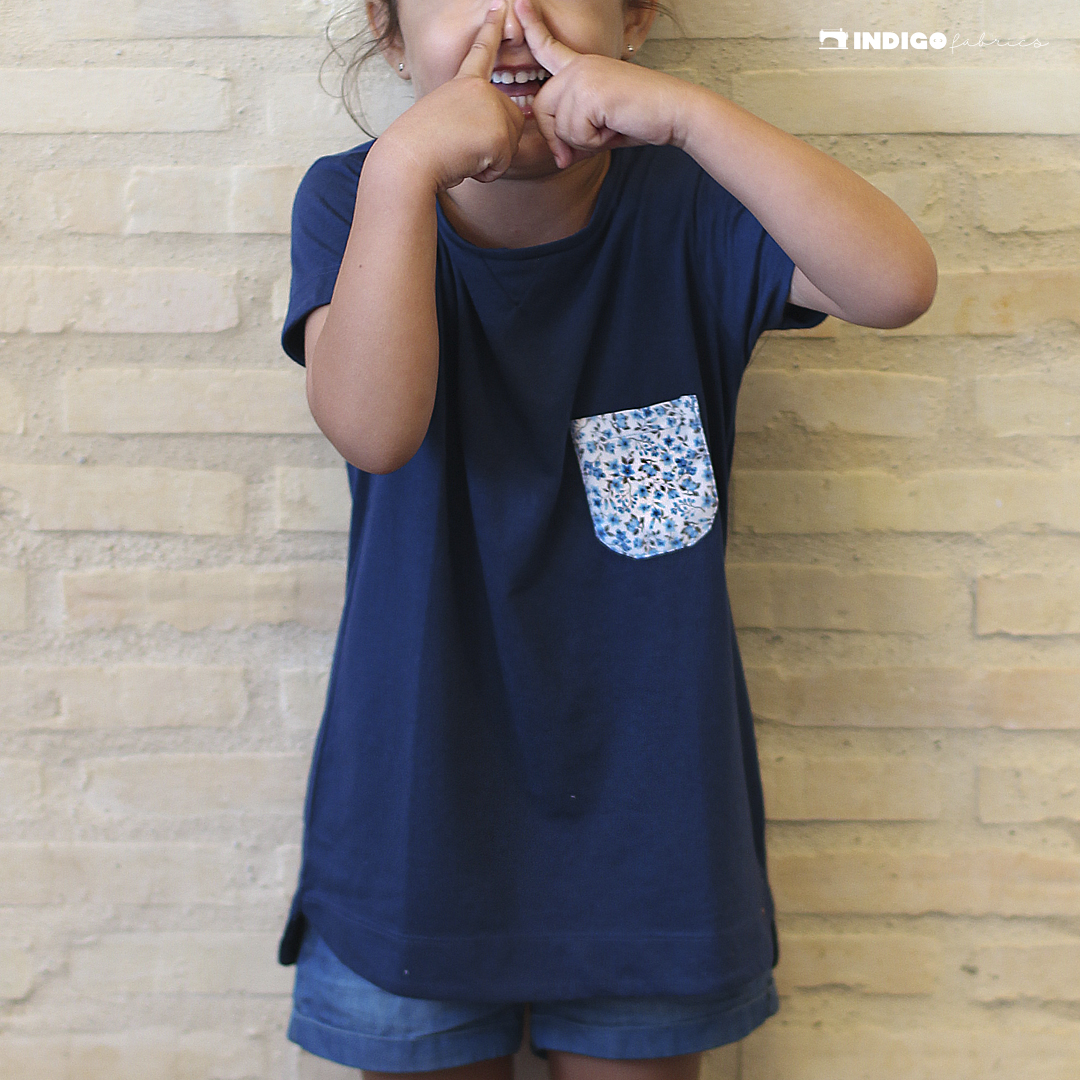
Ta-daah! You’ve got it! This is only the beginning of all that we have to share with you. Little by little we will post it in this sewing journal.
 |
 |
❤We would love to see your shirt with pockets! When you finish doing this tutorial, post a photo using #indigofabricsdiy on Instagrem or Facebook. This would make us very happy. We promise to share it in our profiles and in the DIY section of the web? we promise.
✨ Share it, my friend! If you liked this posts, share it with your friends on your social profilesm, let’s increase this lovely indigo family ?.
Leave A Comment